
New Arrival !

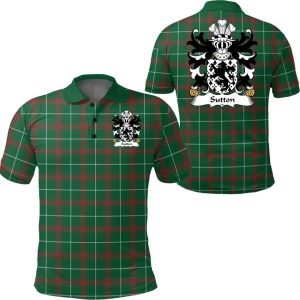
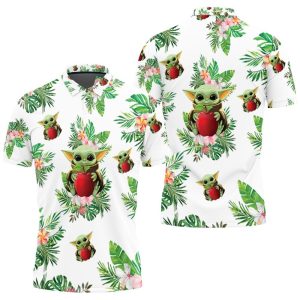
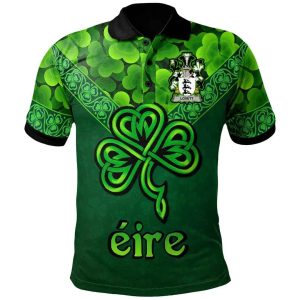
Polo Shirt
$44.98


$44.98

$44.98
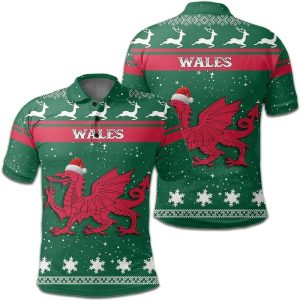
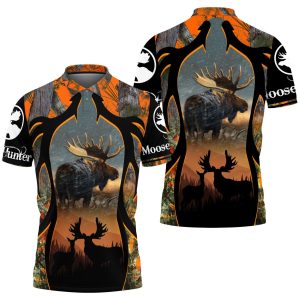
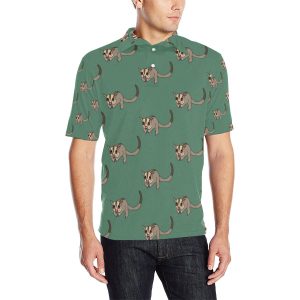
Polo Shirt
$44.98

$44.98
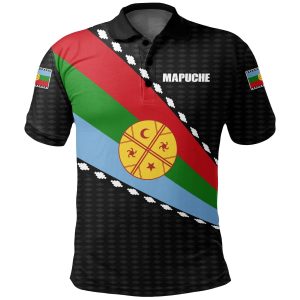
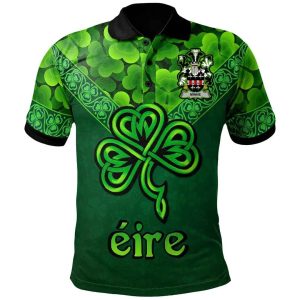
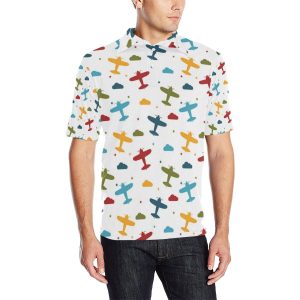
Polo Shirt
$44.98

$44.98

$44.98

$44.98
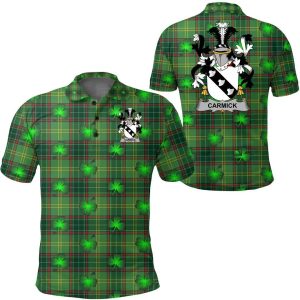
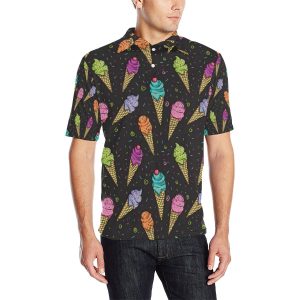
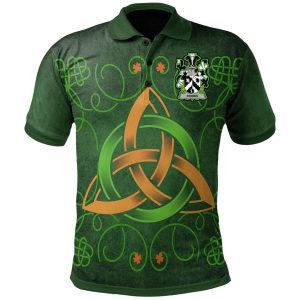
Polo Shirt
$44.98

Polo Shirt
$44.98
Best Selling

$44.98

$44.98
$44.98

$44.98

$44.98

$44.98

$44.98

$44.98

$44.98
$44.98

$44.98
$44.98